Course Setup
This course requires students to use a variety of free, cloud-based tools for programming in Python, completing labs, and submitting work. This document outlines a step-by-step process of setting up your programming environment, which because it uses the cloud will be accessible from anywhere you have a web browser and access to the internet.
Procedure at a Glance
The setup process should take you no more than 15 minutes to complete.
Complete these steps in the following order:
- Signup for a GitHub Account.
You will use GitHub and your GitHub account to turn in work you complete in the course - Setup Github Classroom.
Github classroom distributes the lecture slides, code samples, labs, and homework assignments used in this course to your GitHub account. - Configure Git Within JupyterHub
In this final step, you will clone the code from your GitHub account into the JupyterHub environment.
In case you’d like to watch a video of the setup process:
TODO: Make a youtube video showing how to do the setup, embed here.
Detailed Steps
1. Signup For a Github Account
Github is a cloud repository for source code.
Before You Begin
- Make sure you know your NetID and SU Email address.
- You will need to set a username for GitHub. Please use yournetid-su. For example, my Github username would be mafudge-su.
- You will need to set a Github password. Please do not use your NetID password. You will need to remember this password for future steps.
Setup Procedure
- Go to https://github.com/ and click on the Sign up button in the upper-right.
- THE PROFESSORS NEED TO KNOW ITS YOU! In the Username field enter your netid-su for example my GitHub username is mafudge-su.
- In the Email Address field enter your @syr.edu email, for example, I would enter [email protected].
- In the password field, enter anything you want. You should NOT use your NetID password here. NOTE: Remember your password - You’ll need it for later!
- Click Create Acccount to move on to the next step.
- Select the free plan. You will not need any other plan. click Continue.
- Now go to your @syr.edu email, and look for an email from GitHub.
- Click on the link in the email to verify your account.
- Now help your professors out! Change your avatar to be a photo of yourself: https://help.github.com/articles/setting-your-profile-picture/
- Congratulations! You have a Github account!
2. Setup Github Classroom
Github classroom allows professors to share code with students using Github.
Before You Begin
- Have your GitHub username and password handy.
Setup Procedure
- Go to the https://github.com/ website and sign in with your GitHub with the account and password.
- Click on this GitHub Classroom invite link here: https://classroom.github.com/a/qWFcZxtN
- A Page will ask you to accept the assignment.
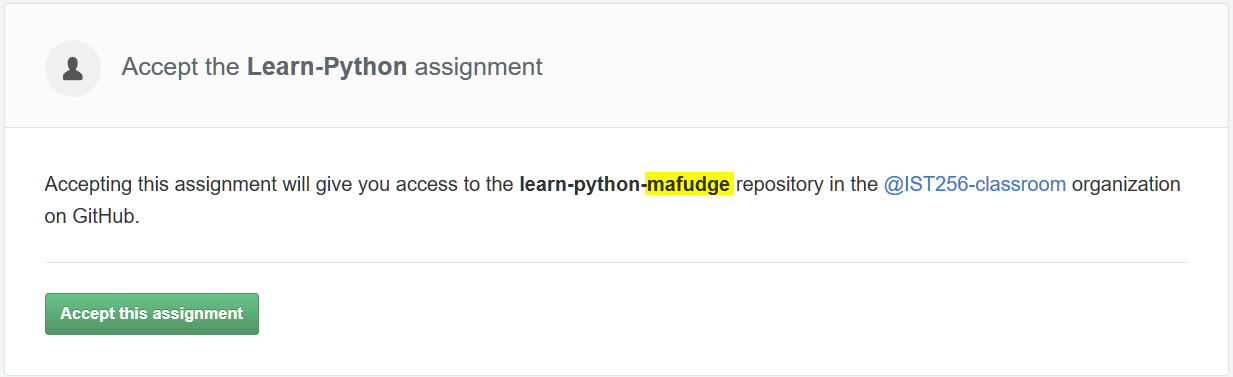
The part highlighted in yellow will match your GitHub username.
Please note the name of the assignment will more than likely begin with the year and semester in it. - Click Accept this assignment
- You might be asked to accept some permissions. Make sure to accept them. After that you will then see this confirmation screen.
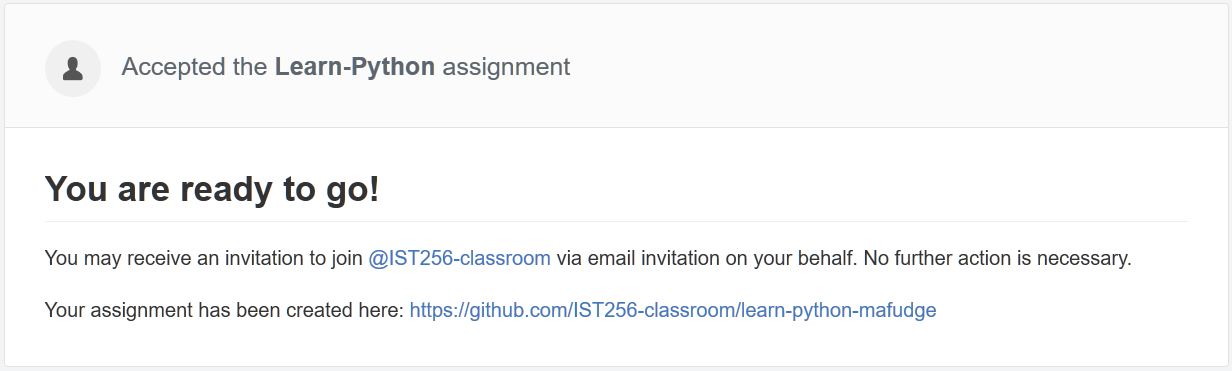
- Click the link at the bottom of the message to go to your repository page. (The link following the text Your assignment has been created here:)
- Your repository page will look like this:
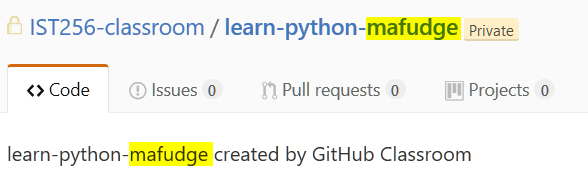
As usual, the highlighted portions should match your GitHub username su-*yournetid*. - You’ll need your Github repository Url, which you can get by following this procedure:
- From the repository page (where you left off), click on the clone or download button:
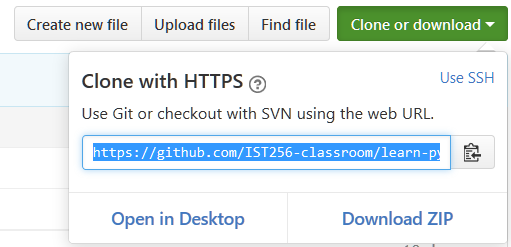
- Copy the link under Clone with HTTPS.
- From the repository page (where you left off), click on the clone or download button:
3. Configure Git within JupyterHub
JupyterHub is a web-based Python programming environment.
Before You Begin
Have the following information handy:
- Your GitHub username and password.
- Your GitHub Classroom repository Url (copy it from the previous setup).
Setup Procedure
- Login to JupyterHub with your NetID and Password https://jupyterhub.ischool.syr.edu/.
- Click The New button in the upper-right and select Terminal from the menu.
When the terminal launches you should see a command line with the promptjovyan@jupyter-*yournetid*:~$ - Execute the following setup script and follow the on-screen instructions. Type:
source /opt/git-setup.sh
and then press ENTER / RETURN - When the script completes you will see the following information:
Script Complete. Your Git Configuration:
user.name=[[Your Name]]
user.email=[[Your Email]]
core.repositoryformatversion=0
core.filemode=true
core.bare=false
core.logallrefupdates=true
remote.origin.url=[[Your Github Repository URL]]
remote.origin.fetch=+refs/heads/*:refs/remotes/origin/*
branch.master.remote=origin
branch.master.merge=refs/heads/master
credential.helper=store
Of course [[Your Name]] will match your name you entered into the script,
[[Your Email]] will be your SU email address, and
[[Your Github Repository URL]] will be your Github Repository Url.
The last line should say credential.helper=store, too.
NOTE: If something goes wrong (you enter a bad password, or mis-type the URL) no worries! You can always run the script again!